Alloy wheels tend to be more durable and longer-lasting than their pure metal counterparts. However, it’s still important to clean them regularly in order to prevent harmful corrosion and keep them looking their best. Simple commercial or household cleaning solutions should work just fine for basic maintenance, but to knock out tougher messes like grease and rust, you’ll need to arm yourself with something heavy-duty, like oven cleaner. Once your wheels are nice and clean, be sure to apply a coat of protective sealant to preserve their spotless shine for many more miles!
Choosing the Right Cleaner
1
Pick up an alloy wheel cleaner to deal with ordinary dust and dirt. To get rid of the kind of grime that normally accumulates after a few hours of driving time, a basic spray-on wheel cleaner is all you’ll need. Be sure to pick out a product that’s designed specifically for use on alloy wheels. A single bottle should provide you with enough cleaner for 3-4 individual uses.
2
Use foaming oven cleaner to break down tough grease and stains. Oven cleaner is potent enough to eat through oil, rust, water and mineral stains, and any number of other hard-to-remove substances. After applying it, you should notice even the most persistent messes dissolving within a few short minutes.
-
- You can buy a can of oven cleaner at any supermarket or drugstore for just a few dollars.
- The same power that makes oven cleaner so effective also makes it a potential irritant. Be sure to wear thick gloves and eye protection, and do your cleaning in a well-ventilated space.
3
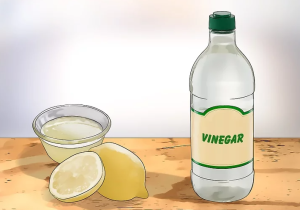
Try vinegar or lemon juice for a natural option. If you’re looking for a thrifty alternative to harsh chemical solutions, pour some distilled white vinegar or lemon juice into a spray bottle and apply it the same way you would a regular commercial product. The natural acids in these substances will cut right through most stubborn grime.
-
- Another benefit of using natural cleaners like lemon juice or vinegar is that you won’t have to worry about them etching the surface of the wheel the way concentrated chemical cleaners can.
- If your wheels are especially dirty, consider taking them off and soaking them in your household cleaner of choice for 10-20 minutes.
Discover how much you could save with Caribou auto refinancing.
Want to know how to lower your monthly car payments? Take control of your car payments & start your auto refinance.
Using Your Cleaner Effectively
1
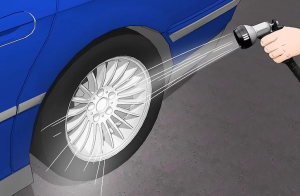
Wet the entire wheel with a hose to remove loose dirt. Take a few moments to give your wheels a preliminary rinse and clear away any excess brake dust or dried dirt. Make sure the water makes contact with every part of the wheel, including the interior surface around the barrel.
-
- Fitting your hose with a pressure attachment or adjustable nozzle will make it easier to blast off bits of stuck-on debris.
- If you don’t have a pressure attachment, place your thumb over the opening of the hose to create a more concentrated stream and increase your spraying power.
2
Spray the entire wheel with your cleaning product of choice. Apply a generous amount of cleaner to the wheel’s center hub, as well as outlying components like the spokes. Mist on additional solution as needed around areas where buildup is the heaviest.
- Keep your distance after applying oven cleaner to minimize your exposure to harsh fumes.
- If your wheels feature plastic hub covers, don’t forget to remove them prior to spraying on the cleaner.
3
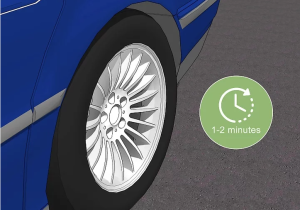
Allow the cleaner to sit for at least 1-2 minutes. As it sits, it will begin penetrating the caked-on dirt. To make the most efficient use of your time, spray all of your wheels at once, then scrub and rinse them one by one. That way, the cleaner will have had plenty of time to work by the time you get to the next wheel in line.
4
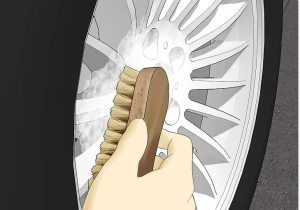
Scrub the wheel with a soft-bristled detailing brush. Work the brush in small circles over the surface of the wheel. The movement of the bristles will lift the remaining dirt right off with little effort. Focus on recessed areas like the spokes and rim screws where the most dirt tends to accumulate.
-
- You can pick up a detailing brush for just a few dollars at your local automotive supply store, or in the car-care aisle of a supercenter.
- Clean your brush in a bucket of warm water every couple of minutes, or whenever you notice it getting dirty.
5
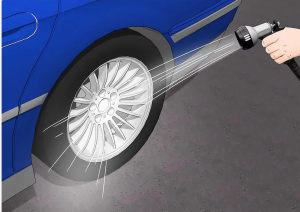
Rinse the wheel thoroughly. Use your hose to flush any remaining cleaner or dissolved dirt from around the wheel. Any traces of cleaner that are left behind could dry into an unsightly residue or even cause corrosion.
-
- If your hose has an adjustable nozzle, set it to the wide fan or spray setting to get better coverage.
- To make sure the wheel is completely clean, continue spraying until the water runs clear.
6
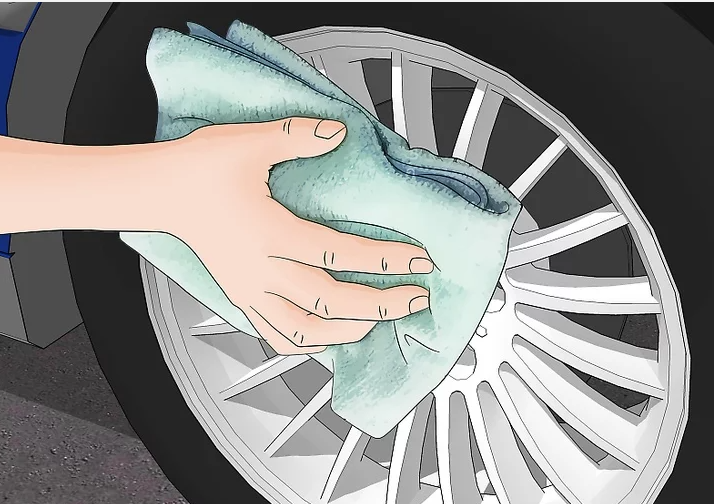
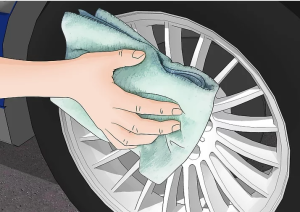
Wipe the wheel dry using a microfiber cloth. Run your cloth over the wheel from top to bottom to soak up standing water. Drying your tires manually will prevent any streaks or water spots from forming on your clean wheels.
-
- Microfiber is your best choice, as it’s softer and more absorbent than other materials. A coarser rag could also leave tiny scratches in your wheels, if you’re not careful.
Protecting Your Clean Wheels with Sealant
1
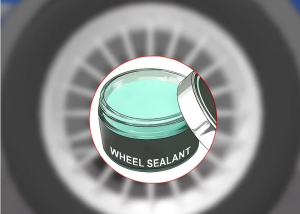
Buy a sealant product formulated for alloy wheels. Head down to your local automotive supply store and pick up a small canister of sealant. Make sure the product you get is designed specifically for use on alloy wheels. Once applied, these products form a protective buffer that makes it harder for dirt and debris to stick to your wheels.
-
- Sealants serve as a barrier against dirt, grease, brake dust, tar, and other substances commonly found on roadways that could the hinder the appearance of your wheels.
- Wheel sealants are available in both spray and wax form.
- A single container of sealant or wax should provide you with enough for 5-10 applications.
2
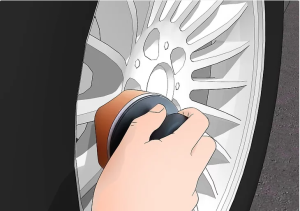
Apply the sealant to the entire surface of the wheel using a detailing pad. Scoop up a dime-sized glob of sealant with your detailing pad, then rub it directly onto the center hub, spokes, and barrel. Work the sealant in using small, smooth circles until it turns clear and there are no visible streaks or swirls.
-
- If you’re using a spray sealant, hold the can 5–6 inches (13–15 cm) away from the wheel and spray on an even coat from top to bottom, left to right.
- You can also use a soft car sponge or microfiber cloth if you don’t have a detailing pad handy.
3
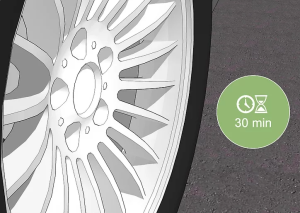
Allow the sealant to cure for 30 minutes. During this time, the sealant will become partially absorbed into the alloy to protect it from within. Avoid touching the sealant as it dries—smudging it could reduce its coverage and overall effectiveness.
-
- Work outside or in an open garage to promote airflow and help the sealant set in quicker.
4
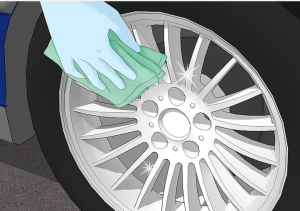
Buff the wheels with a microfiber cloth. Go back over the surface of the each wheel using small circles to remove excess sealant and polish the metal underneath until it’s spotless and sparkling. Once your wheels have a lustrous, even finish, you’ll be ready to hit the road in style!
-
- Use one side of your microfiber cloth to wipe off the lingering sealant, then fold it over and use the other side to do your polishing.
- Don’t forget to also buff around the rims and in between the spokes as best as you can.

